
Any sport comes to a challenge that almost all players want to achieve. People consider it victorious to gain something you have been trying so hard to get.
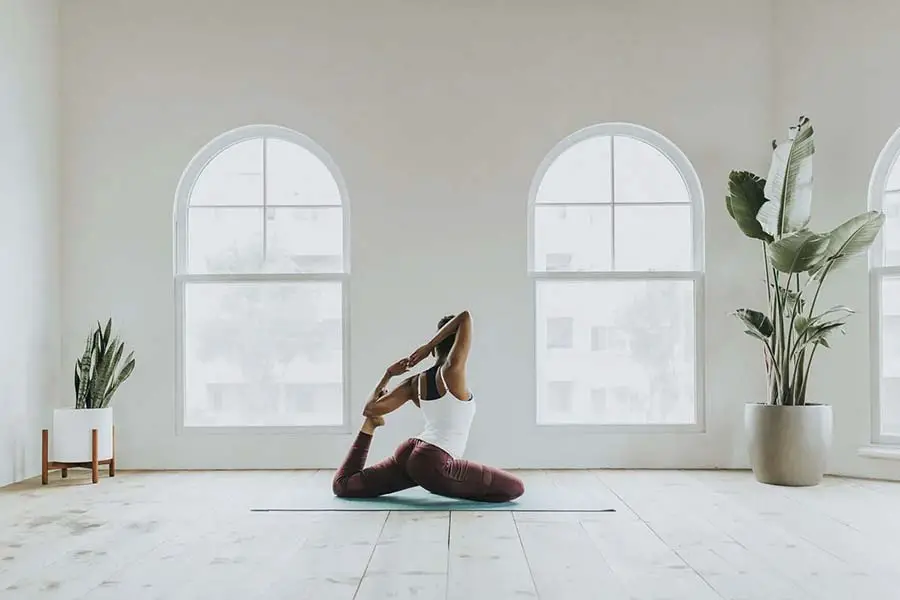
Yoga is no exception. Famous for its difficulty level, the Mermaid pose yoga is a milestone that all yogis want to reach. But alongside all the health benefits it offers, there are also risks you should be aware of before learning this one. Let’s take a look at them.
What Is Mermaid Pose Yoga?
Also called Naginyasana, the Mermaid posture is a Pigeon variation at the advanced level. The name Pigeon might be familiar to you since many yoga classes teach the prep version of it. The most ultimate phase is that extreme backbend you will experience in the Mermaid.
Due to the challenge of exercising this one, not everyone should and can do it. We don’t recommend you do it without mastering the Pigeon Pose or doing all the prep work needed. Some even consider this one as harder than the One-Legged King posture.
This particular posture requires flexibility from your hips so that you can open it easily. That’s why preparatory poses are needed to aid you in preparing your hips beforehand. If not done properly, the chances are that you might strain the hip flexors, stress your knees, and cause yourself injuries.
Though it’s hard and can turn into many threats for unprepared yogis, the Mermaid pose benefits are undoubted. The process of stretching your shoulders, groin, quads, and hips gives your back, shoulders, and hips great flexibility. Doing this helps you open your heart and test your balance as well.
Frequently exercising this one can improve your flexibility, which is truly a gift you will feel grateful for in life.
How To Do Mermaid Pose?
Each online website will teach you different mermaid pose variations, but in this post, we insist that there are two ways you can carry out this position.
The first option is to carry out the Downward facing dog and adjust it to the Mermaid.
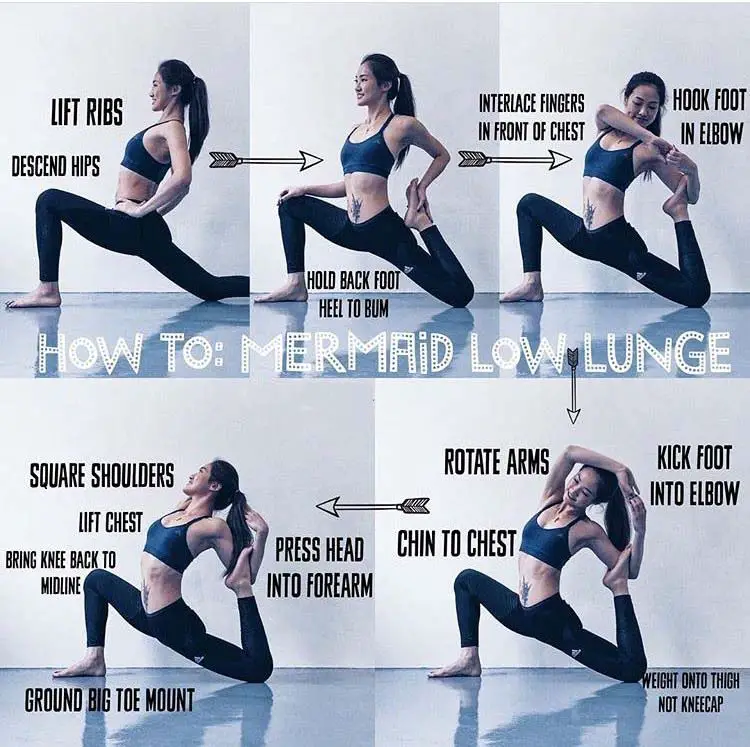
The second one (also the one we will be teaching you today) is forming the Pigeon prep, then slightly turning it into our Mermaid position. During the Pigeon prep, you must carry out multiple steps.
You should start by meditating. After that, form the Child’s Pose with the Victorious Breath. Then, change it into the Cat-Cow one for a few rounds. The first phase will end after three rounds of Sun Salutations A and B.
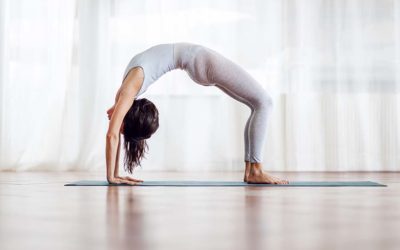
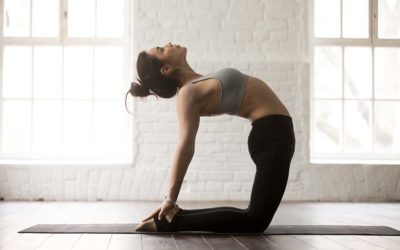
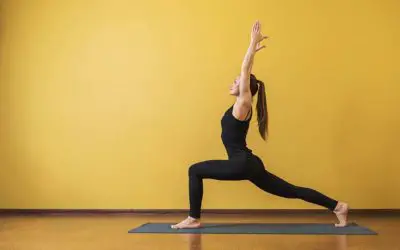
The prep should continue with the following poses: Downward-Facing Dog, Warrior I, Low Lunge, and One-Legged King Pigeon. These practices should be enough for you to jump right in the below section.
Instructions
- When you finish the prep, the right leg should be forward, and this is where we will begin.
- Bend your left knee, the one that is sitting in the back. Use the left hand to hold that foot.
- Slip that left foot right onto the left elbow’s crook. (This can be the final position, but you can continue with our next steps if desired).
- Use the right arm to reach toward your ceiling in a straight-up manner. Then, bend it, so it drops behind the head.
- Meet your two hands. Next, press your head’s back to the right arm.
- Keep pointing your chest forward, and don’t fall to your hip’s right side.
- While releasing the foot, controllably lower the leg. Do this posture again with your left knee in the front.
Note: You must pay attention to a particular alignment point we’re about to share. The way your legs grasp the floor will change over the period, from the relaxing phase of the prep to the more upright phase later on.
When you’re doing the forward-folding, you’re melting your legs and letting them merge with the floor so that any hips’ tension should be released. But when you’re upright, your legs’ trajectory will change to facing toward your ceiling.
You will need to work your thighs strongly toward each other isometrically. Then, the hips should come higher from the floor, giving you some stability not to rest on the right hip.
Common Mistakes
The most common mistake while carrying out this posture is forcing your backbend. That could only lead to injury as the back is in a very awkward position.
We know how anxious you are trying to advance yourself, but don’t rush. Just gain flexibility through time, and let your chest come forward naturally.
Also, you might fail if you haven’t or can’t do the preparatory steps comfortably. Just relax and do it sequentially.
Safety And Precautions
Because this is an advanced asana, you should keep your mind on some precautions.
- Have your body open enough before doing this position so that you won’t suffer from injury, strain, or stress.
- Avoid doing it with pain or tightness in any body part.
- Stay away from it if you suffer from any of the following issues:
- Heart disease
- Low or high blood pressure
- Herniated or bulging discs
- Spinal stenosis
- Scoliosis
- Knee or hip issues
- Any ankle, back, or shoulder injury or pain
The tip here is to use supporters such as a folded blanket, block, or cushion to stabilize you and prevent rolling to one side. You can place one more under the knee behind you for extra support and cushioning.
Conclusion
Learning a hard position like the Mermaid yoga pose must be challenging and also rewarding at the same time. As long as all the precautions and preps are taken, we’re sure you will be fine mastering this advanced asana. Once again, it’s all about patience, don’t rush!

0 Comments