The yoga pigeon pose is a familiar posture that every yoga lover should practice regularly. This technique is suitable for both beginners and intermediates. If you have just started doing yoga, pigeon pose is a perfect initiative to kindle your passion.
The pigeon posture brings you tremendous benefits on both mental and physical health. You can try it to keep fit, stretch your muscles, and increase flexibility. Doing this technique will help you avoid the harmful effects of an idle lifestyle.
Coming with its health perks is the risk of injuries if not performed correctly. For these reasons, you should grasp the right techniques and skills to perform the pigeon yoga pose right. Scroll down to find out the pigeon pose benefits and learn to do it properly.
What Is Pigeon Yoga Pose?
Doing this pose means that you have to open and stretch your hip wide sitting on a mat. In the right position, one of your legs will stretch straight back while you bend the other one forward so that your knee will touch the floor.
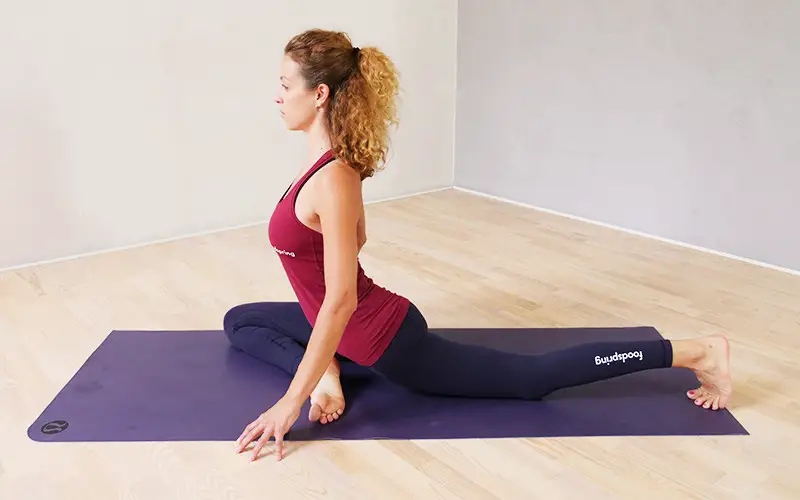
You will need the help of the two arms putting on the floor to stay balanced. This posture will stretch your hip, legs, and spine to increase durability. Your joints and muscles will become more flexible to prepare you for harder techniques.
How To Do Pigeon Pose
Classic Pigeon Pose (Eka Pada Rajakapotasana)
The classic pigeon pose is the most common version of this yoga technique. After mastering this skill, you can make small changes to the position to create more advanced variations. Before you start doing it, you first have to practice the Downward Dog posture.
The Downward Dog is a universal technique taught in yoga classes and lessons every participant should master. It helps prepare your core muscles to withstand the force and movements of yoga techniques.
How To Do It
Step 1
Perform the Downward Dog position with your two arms and legs, put straight on the ground, hold your hip highest, and head facing the floor. Raise your right leg on the sky in an aligned position with your back and spine.
Be patient, as it takes a lot of energy to stay balanced and keep your right leg straight. From this posture, bend the knee to move your right leg forward. Do this slowly, or you may lose balance and fall. Now put your right knee on the floor with your hip opened slightly.
The distance between your two knees should be larger than your two arms. Slowly lower your hip and put your left leg straight on the ground with the knee on the mat. The front surface of your feet should lay flat on the floor, not your toes.
Step 2
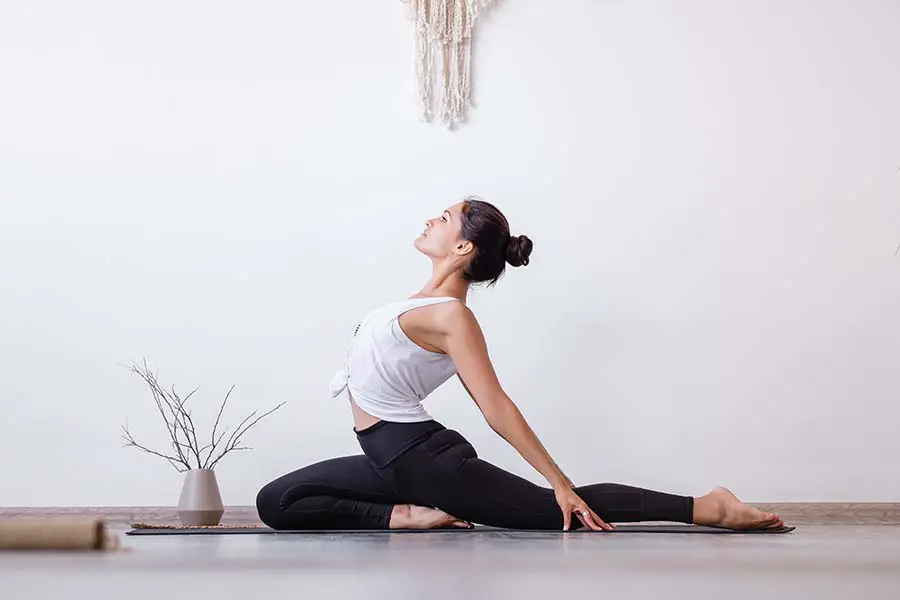
Now observe your current posture and try to move your left leg to straight and aligned with your back. Keep your hip firm and square to the front of the mat. Your right leg doesn’t need to be square with your back leg; just put it in a position that you feel the most comfortable.
Stretch your spine and try to raise your head by lengthening the back. Put your two arms next to the body with all the fingertips touching the floor. Try to inhale deeply when you are holding this position.
Step 3
The next step is to release your breath and slowly bend forward by moving your fingers to the front of the mat. Put your two arms in a square position, with one arm folding on top of the other. Now fold forward and put your forehead on the top of your hands.Take five to six deep breaths and slowly move back to the initial position in this posture. Practice this forward pigeon pose about five to six times. Try to switch from your right leg to the left one using the same techniques.
Mistakes When Practicing Pigeon Pose
As the sitting pigeon pose requires advanced skills and flexibility, beginners often struggle with this technique. Although the posture is relatively safe, you can get injured when doing it incorrectly. Here are some common mistakes to avoid and increase your performance.
Wrong Hips Posture
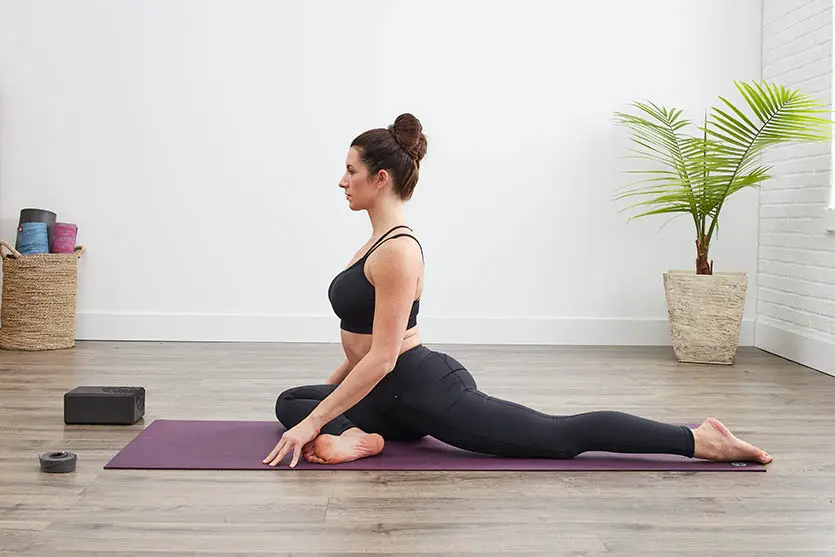
It is difficult for beginners to put their hips in a square position when practicing pigeon stretch yoga. This wrong technique will lead to you putting your body force on the front knee and losing balance. Repeating this mistake over time will get you accustomed to an incorrect posture.
Unparalleled Shin
You should always put your shin parallel to the front of the mat. If you keep your shin too close to your body, the pressure may hurt your knee. To solve this problem, try using a soft towel to place your thigh and knee on. It may reduce the risks of you getting knee injuries.
Tips For Practicing Pigeon Pose
It would be best to attend yoga classes or have a professional trainer to learn the pigeon pose muscles stretched practice. The expertises can also teach you to modify this technique according to your skill and comfort.
If your joints and knees suffered from previous injuries, you should avoid practicing the pigeon pose completely. You should seek advice and instructions from doctors before trying, or it may worsen your pain. When you feel pain in your knees, bring the right foot closer to your hip.
Try to perform this technique as gently and slowly as possible, especially when you are a beginner. There are many variations of the pigeon stretch. In case the classic version doesn’t suit you, try doing the modifications you are comfortable with.
Benefits Of Pigeon Yoga Posture
Pigeon pose helps strengthen your legs and hips and increase their flexibility. Stretching your legs and backs daily can release the pressure after hours of sitting. Research indicated that practicing this pose can improve digestion and prevent digestive disorders.
You can lessen the pain in your lower back by doing this posture. The pigeon technique is also beneficial to your mental health by reducing stress and anxiety. You will feel more positive after the training sessions. Every time you feel sad and depressed, try it for a few attempts.
Conclusion
Doing the pigeon pose stretch is one of the greatest ways to spend your spare time. You can practice it daily to stay fit and adopt a healthy lifestyle. Ensure that you grasped all the tips and instructions provided in this post to perform the stretch properly.
0 Comments